Table of Content
While still supporting the front panel, use a fingernail or the edge of an opening tool to disconnect the front-facing camera and earpiece speaker connector. While holding the iPhone down with one hand, pull up on the suction cup to slightly separate the front panel assembly from the rear case. Center the suction cups and press them firmly onto the top and bottom of the iPhone.
Do not remove the display completely, or you will damage the data cables connecting the display near the top edge of the iPhone. Depending on your replacement part, you may need to remove the rubber gasket around your home button. Incorrect placement of these screws during reassembly will cause permanent damage to your iPhone's logic board. The iSclack is designed to safely open your iPhone just enough to separate the pieces, but not enough to damage the display cables.
Shipping Options
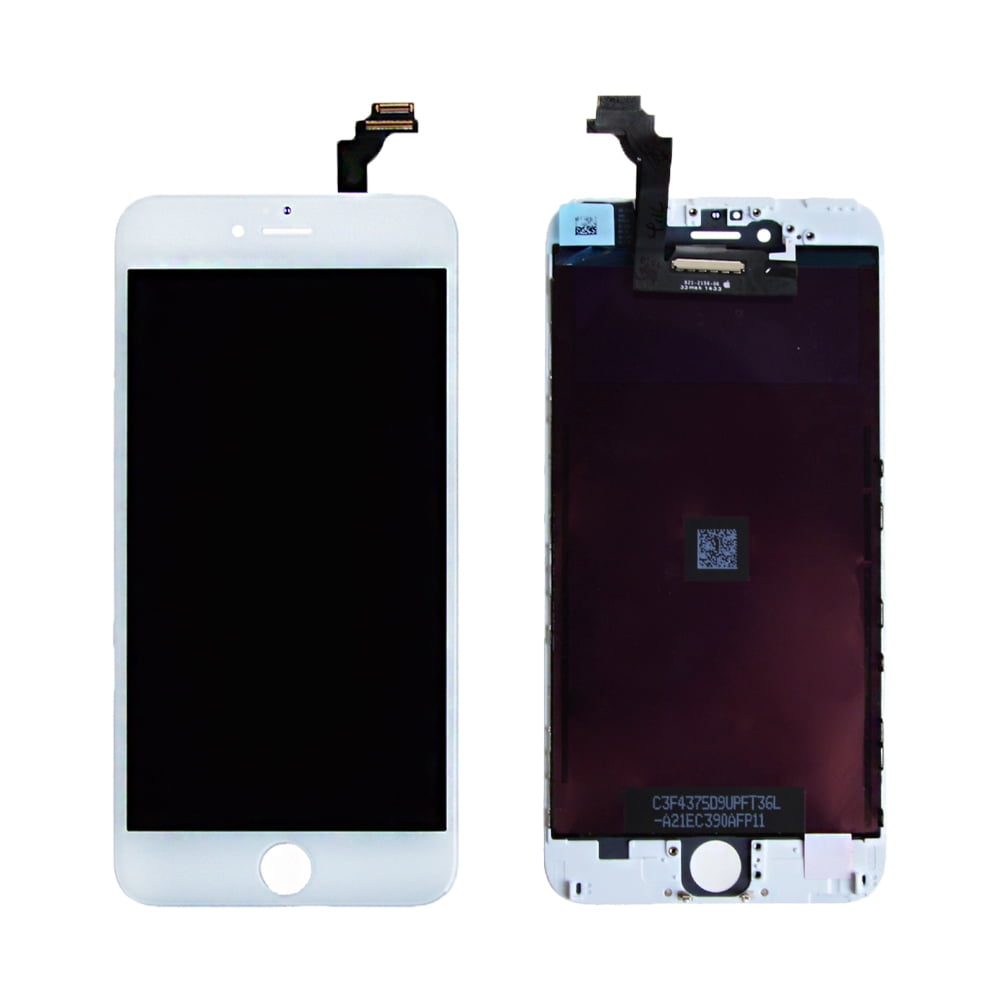
The information that comes from the digitizer transfers through a digitizer flex cable to an LCD. Whether you have an iPhone 6 or iPhone 6 Plus, there are specific digitizer to fit your phone and for proper screen replacement. You can obtain an individual screen or a pack that has multiple digitizers for whenever you need to repair your phone or help with the replacement of another phone. Repair kits come with all the necessary tools and equipment necessary to perform a screen replacement. For anyone who has damaged their iPhone 6 Plus screen from either deep scratches or having it badly cracked, screen replacement is a necessity but also a headache. The replacement of a screen can sometimes be costly especially for larger smartphones with bigger screens like the iPhone 6 Plus.
Size.With the use of LCD, it allows the displays to be much thinner than other types of displays. Particularly, with the iPhone 6 and iPhone 6 Plus, one of the upgrades of this design was how thin the phone and display were. Display.LCD, also known as liquid crystal display, uses either a passive or active matrix display grid.
Battery Connector
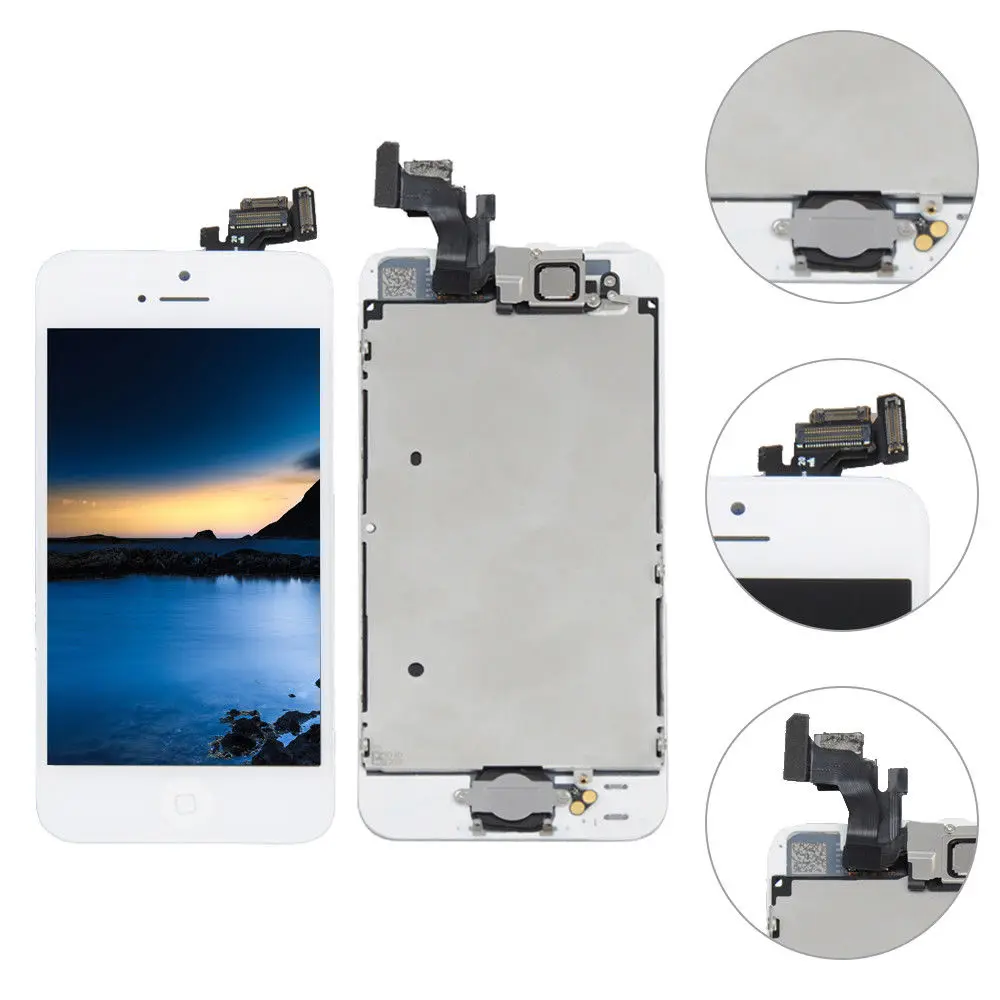
I did a screen replacement, all went well and works great, however I punctured the TouchID cable when prying it off of the old display. This part comes with the front-facing camera, earpiece speaker and sensor cable already installed, making for an easier repair. Hold onto your iPhone securely and close the handle of the iSclack to separate the suction cups, pulling the front panel up from the rear case. There are products with options for LCD and touchscreen displays for several different iPhone models other than the iPhone 6 Plus. Assembly kits for LCD and touchscreen installation offered also support functionality for all different models of iPhones.
Unique assembly kits do not exist for each particular phone generation. Follow the steps in this guide to replace the Home Button Assembly, including the gasket and cable, in your iPhone 6s Plus. Note that home buttons are paired with their respective logic board, so Touch ID will no longer work after you replace the Home Button Assembly. Use the point of a spudger to disconnect the home button cable connector by pushing it up and away from the home button.
For iPhone 5S Replacement LCD Touch Screen Display Digitizer Assembly White UK
If you’re within your one-year Apple Care warranty, Apple will charge you $79.00 to repair your broken home button. If your Apple Care warranty has expired, expect to pay approximately $200.00 for all iPhone 6/6 Plus home button repairs. Using the top of the phone as a hinge, pull the home button end of the front panel away from the rear case. Release the power button and then press and hold the home button until the, “slide to power off” slider vanishes. Repeatedly slamming your finger into a broken, sticky, or burning hot iPhone 6/6 Plus home button won’t magically fix your crippled device.
If you aren't using the iSclack, skip down three steps for an alternate method. Using a set of tweezers, carefully pull the gasket up and off of the home button carefully so you don’t snag it on the home button cable. You also have to remove the aluminum plate and the rear camera/speaker assembly. After reassembly, connect the iPhone to an AC power source before turning it on for the first time. Once the iPhone has booted up successfully, you can disconnect the AC power.
iPhone 6 Plus A1522 A1524 A1593 Digitizer LCD Replacement Touch Screen + Tools
Apart from changing USB port or cable, your other option is to replace the cable connecting your Touch ID. Remove the metal battery connector bracket from the iPhone. If your display is badly cracked, covering it with a layer of clear packing tape may allow the suction cup to adhere.
To reassemble your device, follow these instructions in reverse order. Remove the home button bracket from the front panel assembly. Remove the two 1.8 mm Phillips screws securing the home button bracket to the front panel. During reassembly, align the clips just below the top edge of the rear case. Then, slide the front panel upward until its top edge is flush with that of the rear case.
Then, disconnect the display data cable connector using the same side of the spudger tool as before. Take care to only pry up on the battery connector, and not the socket on the logic board. If you pry up on the logic board socket, you may break the connector entirely.
Several clips along the top edge of the front panel form a partial hinge, allowing the front panel assembly to swing open like a book. Open the display to about a 90º angle, and lean it against something to keep it propped up while you're working on the phone. Pull the home button end of the front panel assembly away from the rear case, using the top of the phone as a hinge.
After reassembly, clean the touchscreen surface with an alcohol wipe prior to turning the iPhone back on. The alcohol helps dissipate any lingering static electricity, which can cause problems with the display. Do not attempt to insert longer screws into the red marked screw holes. Doing so may result in irreparable damage to the logic board. Pull the plastic nub to release the vacuum seal on the suction cup.